Hi, I’m Samad welcome to my cozy American kitchen at MapleEats.com! If you’ve ever looked at a beautiful 2 tier cake and thought, “I could never make that,” let me tell you something: you totally can. Today, I’m breaking down how to make a 2 tier cake step-by-step no fancy tools, no stress, just sweet, achievable magic.
Table of Contents
Why Make a 2 Tier Cake at Home?
There’s something incredibly satisfying about baking a cake that looks like it came from a professional bakery especially when you’re the one who pulled it off. Whether you’re celebrating a birthday, anniversary, graduation, or just flexing your baking muscles, this easy tiered cake recipe will get you there.
Plus, in the U.S., tiered cakes are pretty much the centerpiece of every big celebration. But buying them? Yikes expensive. Making it yourself? Budget-friendly and deeply rewarding.
What You’ll Need (Nothing Fancy, I Promise)
2 Tier Vanilla Cake
Ingredients
Cake Batter
- 3 cups all-purpose flour
- 2.5 tsp baking powder
- 0.5 tsp salt
- 1 cup unsalted butter room temperature
- 2 cups granulated sugar
- 4 large eggs
- 1.5 cups whole milk
- 2 tbsp vanilla extract
Buttercream Frosting
- 1.5 cups unsalted butter softened
- 6 cups powdered sugar
- 3-5 tbsp heavy cream or milk
- 1 tbsp vanilla extract
- salt pinch
Instructions
- Preheat oven to 350°F. Grease and flour two 6-inch and two 8-inch cake pans.
- Whisk flour, baking powder, and salt in a bowl.
- In a separate bowl, cream butter and sugar until light and fluffy. Add eggs one at a time, beating well.
- Mix in vanilla. Alternate adding dry ingredients and milk until batter is smooth.
- Divide evenly among pans and bake 30–40 minutes, until a toothpick comes out clean.
- Cool cakes completely. Level the tops.
- Make buttercream by beating all frosting ingredients until fluffy.
- Stack and fill each tier with buttercream. Crumb coat and chill.
- Apply final frosting layer and smooth. Insert dowels into the bottom tier.
- Stack the smaller cake on top. Decorate as desired.
Notes
Use dowels or bubble tea straws for support.
Chill before stacking and transporting.
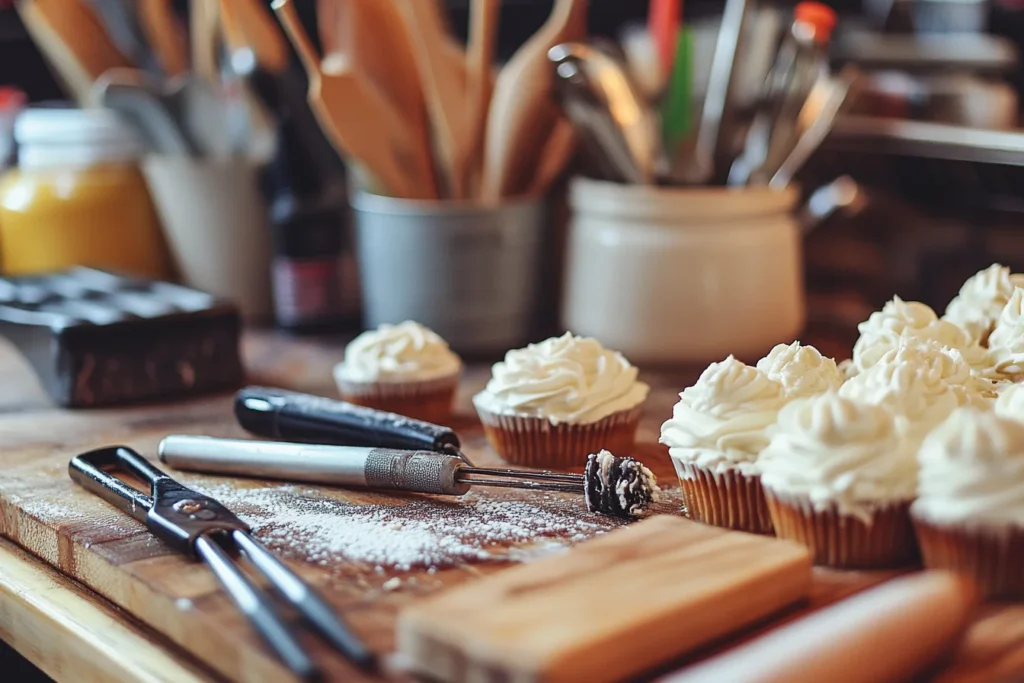
You don’t need a cake decorating degree or a commercial kitchen. Here’s what I always have on hand when making a 2 tier cake at home:
Tools:
- Two cake pans (6-inch and 8-inch)
- Offset spatula
- Bench scraper or cake smoother
- Serrated knife (for leveling)
- Cake boards (6-inch and 8-inch)
- Dowels or straws for support
- Cake turntable (optional but very helpful)
- Piping bag + tips (if decorating)
Ingredients:
The beauty of this recipe? You can use your favorite flavors. Today, I’m doing classic vanilla with a creamy buttercream, but you can easily swap chocolate, lemon, or even red velvet.
For the Vanilla Cake:
- All-purpose flour
- Granulated sugar
- Baking powder
- Salt
- Unsalted butter
- Eggs
- Whole milk
- Vanilla extract
For the Buttercream:
- Unsalted butter (softened)
- Powdered sugar
- Heavy cream or milk
- Vanilla extract
- Pinch of salt
(Full recipe details are in the WP Recipe Maker block at the end!)
Step-by-Step: How to Make a 2 Tier Cake
Step 1: Bake the Cakes Separately
You’ll need two different cake sizes for the tiers. I usually go with:
- 8-inch cake (bottom tier)
- 6-inch cake (top tier)
Each tier should be two layers tall. So bake two 8-inch cakes and two 6-inch cakes.
Tip: Use a scale to evenly divide the batter and avoid lopsided layers.
Bake, cool, and wrap your cakes in plastic wrap. Chill them for a few hours this makes frosting and stacking much easier.
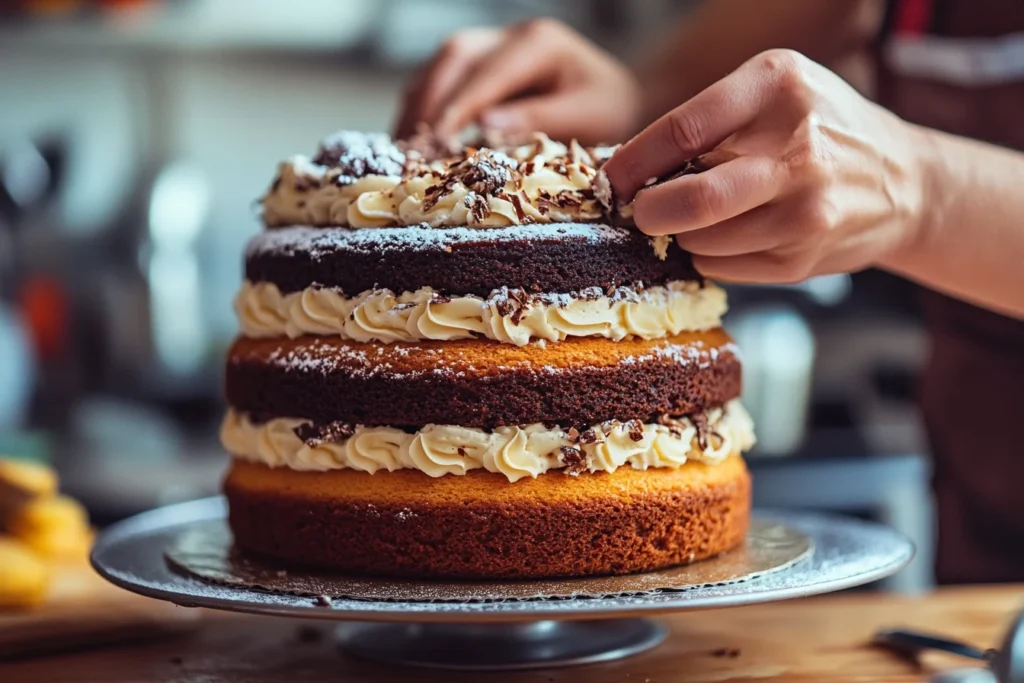
Step 2: Level and Stack Each Tier
Use a serrated knife to level the tops of the cakes. You want flat surfaces, not domes.
Stack the two 8-inch cakes with a layer of buttercream in between. Repeat with the 6-inch cakes. Frost the outside with a crumb coat (a thin layer to catch all those pesky crumbs), then chill.
Step 3: Frost and Smooth
Once chilled, apply your final buttercream layer. Use your offset spatula and a bench scraper to get those sides clean and smooth.
Tip for American home bakers: Pop the cake on a turntable and spin slowly as you smooth. It’s therapeutic, honestly.
Step 4: Add Support
Before you stack the smaller cake on top, insert 3–4 dowels or sturdy straws into the center of the 8-inch cake. This holds the weight of the upper tier.
Place a cake board under the 6-inch cake, then gently set it on top.
Boom. You’ve got yourself a 2 tier cake.
Step 5: Decorate (This Is the Fun Part)
Now’s the time to get creative. You can:
- Pipe swirls or rosettes
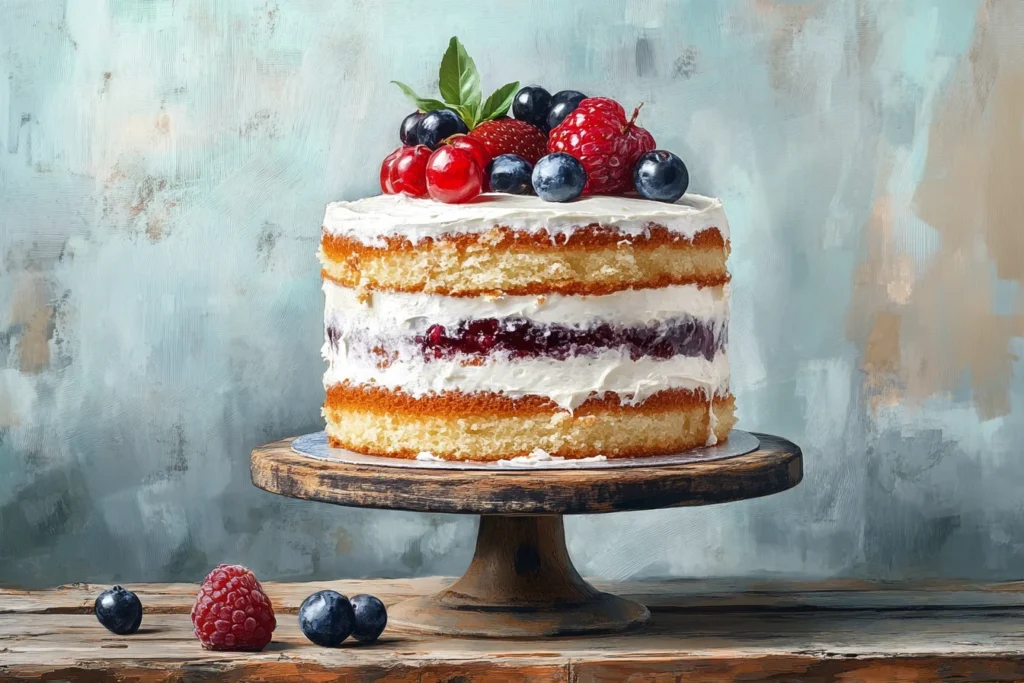
- Add fresh flowers or fruit
- Sprinkle on edible glitter
- Keep it minimal with clean lines
I personally love using seasonal fruits and herbs for a rustic look. Think strawberries and mint in summer or rosemary and cranberries in winter.
Common Mistakes & How to Fix Them
Let’s be real baking isn’t always picture-perfect. Here’s what might go wrong and how to handle it.
My cakes are uneven!
Solution: Use a serrated knife to level them. Always measure batter into pans evenly.
The top tier is sinking!
Solution: Use dowels! Skipping them is the #1 reason your top tier collapses.
The frosting looks messy.
Solution: Chill the cake between coats. A crumb coat followed by a final smooth coat is key.
Cakes slid while stacking.
Solution: Use a small dab of buttercream between the tiers to anchor them.
Tips for American Families Baking at Home
- Make ahead: Bake the cakes 1–2 days in advance. Wrap tightly and refrigerate or freeze.
- Buttercream batch: Make extra frosting trust me, running out mid-decorating is not fun.
- Decorate chilled: A cold cake is way easier to frost.
- Practice piping: Do a few swirls on parchment before committing to the cake.
Flavor Ideas for Your 2 Tier Cake
Want to mix it up? Try these fun combos:
- Bottom tier: Chocolate, Top tier: Peanut butter
- Bottom tier: Lemon, Top tier: Raspberry
- Bottom tier: Funfetti, Top tier: Strawberry
Just make sure the flavors complement each other and that they’re crowd-pleasers!
Make-Ahead, Storage, and Serving Tips
How Far in Advance Can I Make It?
If you’re making this 2 tier cake for a big American celebration like a graduation party or baby shower, timing is everything.
Here’s what works best for me:
- Cake layers: Bake up to 2 days ahead. Wrap in plastic and refrigerate, or freeze for up to 2 weeks.
- Buttercream: Make up to 1 week in advance. Store in an airtight container in the fridge and re-whip before using.
- Assembled cake: Frost and decorate up to 24 hours ahead. Store in the fridge, but let it sit at room temp for 1–2 hours before serving.
How Do I Store Leftovers?
If you’re lucky enough to have leftovers (honestly, this cake goes fast), here’s how to store them:
- Refrigerator: Keep slices in an airtight container for up to 5 days.
- Freezer: Wrap individual slices in plastic wrap, then foil. Freeze for up to 2 months.
How to Transport a 2 Tier Cake
Use a cake box and refrigerate the cake until it’s firm before travel. Place a non-slip mat under the box in your car, and drive like you’re carrying a sleeping baby. You’ve got this.
Flavor Combo Ideas
Why not mix and match? Try:
- Bottom: Chocolate | Top: Peanut butter
- Bottom: Lemon | Top: Raspberry glaze or berry compote
- Bottom: Funfetti style | Top: Strawberry
For cozy comfort flavors, you might also try this vanilla buttermilk pound cake.
Conclusion
There you have it how to make a 2 tier cake without losing your mind or your Saturday. With a little prep and some buttercream magic, you’ll impress your guests and yourself.
I hope this recipe brings warmth to your kitchen and smiles to your dinner table. Remember the best meals are the ones you share.
Happy baking,
Samad
Frequently Asked Questions
Q: Can I use boxed cake mix?
A: Yes, absolutely! For busy American families or beginner bakers, a boxed mix works great. Just doctor it up with an extra egg or a splash of vanilla to give it a homemade boost.
Q: Do I really need dowels?
A: Yes! Without them, the top tier can sink into the bottom one. Even for a small cake, dowels or bubble tea straws are a must.
Q: Can I make this gluten-free?
A: Totally. Just use your favorite 1:1 gluten-free flour blend and make sure all other ingredients are certified gluten-free.
Q: How many people does a 2 tier cake serve?
A: It depends on slice size, but typically:
8-inch tier: 20–24 servings
6-inch tier: 10–12 servings
So, about 30–36 servings total.
Q: Can I color the buttercream?
A: Yes! Gel food coloring works best because it doesn’t water down the frosting. Start with a toothpick a little goes a long way.