Hey there! It’s Samad, coming to you straight from my cozy American kitchen. If you’re like me and love throwing a good party or just making everyday moments feel a little extra special you’re going to love today’s project: creating the perfect cake pop stand. Whether you’re showing off at a birthday bash or a backyard BBQ, a sturdy and stylish cake pop stand makes all the difference.
Today, I’m sharing my favorite easy way to make a cake pop stand that looks amazing and holds those little treats up like a champ!
Table of Contents
Why You Need a Cake Pop Stand
If you’ve ever tried serving cake pops on a plate, you already know the struggle: they roll around, topple over, and turn into a sticky mess. A proper cake pop stand:
- Keeps them upright
- Shows off your hard work
- Makes grabbing one super easy for guests (especially little hands at kids’ parties!)
It’s honestly a lifesaver for busy American families throwing a quick birthday party or planning a big holiday table.
What You’ll Need for a DIY Cake Pop Stand
Creating a simple stand at home doesn’t need to be complicated or expensive. Here’s what you’ll want to gather:
- Foam block (floral foam or craft foam from a local store)
- Decorative wrapping paper or cardstock
- Scissors
- Tape or glue
- Wooden dowels (optional for reinforcement)
- Cake pop sticks
Tip from Samad: If you want something extra sturdy, grab a small wood board from Home Depot or Michaels and drill tiny holes yourself. It feels super fancy!
Step-by-Step: How to Make a Cake Pop Stand
1. Pick Your Base
You can use a foam block, a decorated cardboard box, or a simple wood board. Foam is the easiest because you can just push the sticks right in.
2. Wrap It Up
Cover the foam or base with pretty paper that matches your party theme. Tape it neatly underneath so no edges show.
3. Poke Your Holes
Use a cake pop stick to gently poke starter holes. Space them about 2 inches apart so the pops don’t bump into each other.
4. Test It Out
Before party time, stick a few finished cake pops into the stand and make sure it’s balanced and sturdy.
5. Decorate (Optional)
Add ribbon, stickers, or little themed signs around the edges. Make it yours!
Need more party appetizer inspiration to go with your stand? Check out these adorable brie cheese bites.
Common Problems and Samad’s Solutions
Cake Pops Falling Over?
That usually means the stand isn’t sturdy enough. Try using a thicker base or sticking pops deeper into the foam.
Stand Looks Too Plain?
Wrap it in bright patterned paper, or top with a sprinkle of confetti. Americans love festive, colorful party displays!
Cake Pops Too Top-Heavy?
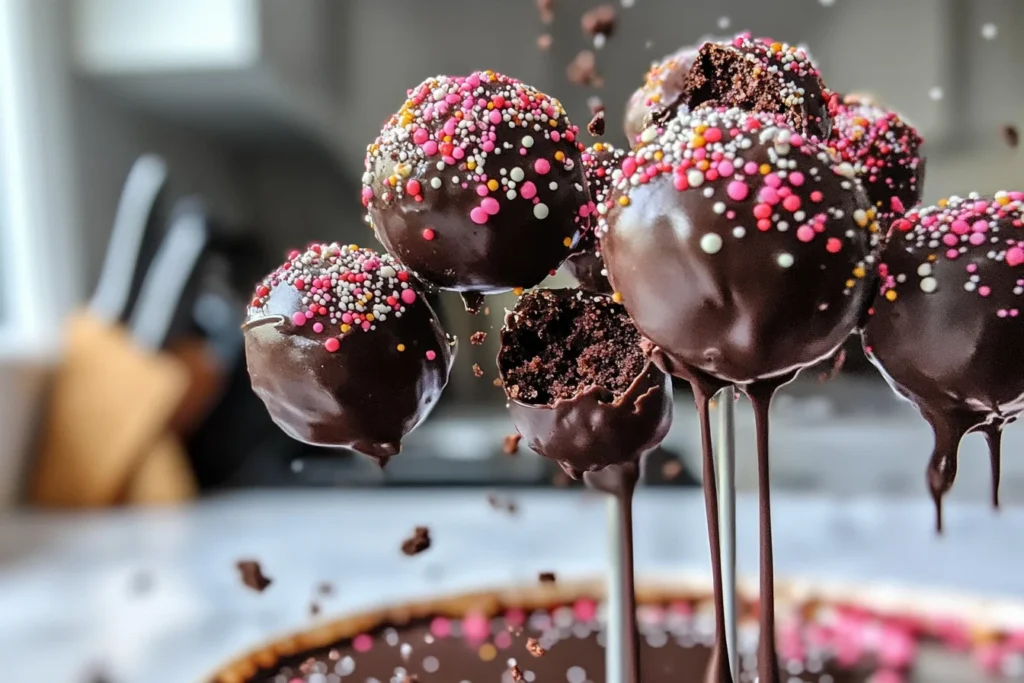
Chill the pops well before displaying. When the chocolate is firm, they stay upright way better.
Best Types of Cake Pop Stands to Buy (If You’re in a Hurry)
Sometimes, life gets too busy for DIY and that’s totally okay! Here are a few easy-to-find options perfect for U.S. families:
- Clear acrylic cake pop stands (professional-looking and reusable)
- Cardboard disposable stands (cheap, cute, and colorful for quick parties)
- Wooden tiered cake pop displays (gorgeous for weddings or big celebrations)
You can find tons of options on Amazon, Walmart, or even at Target right here in the U.S.
Tips for a Show-Stopping Cake Pop Display
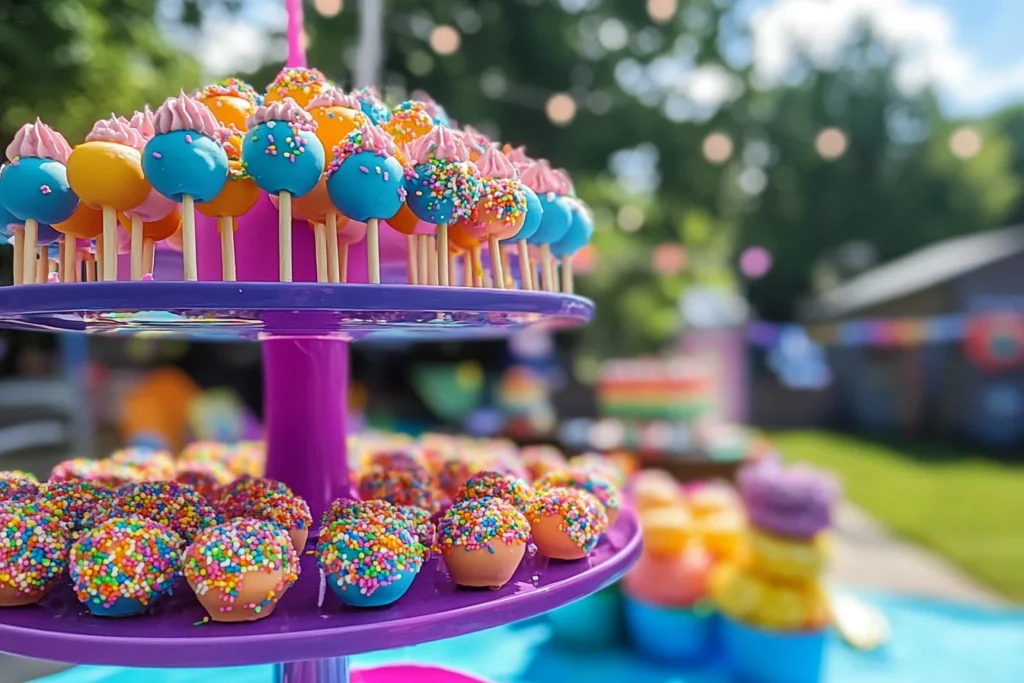
- Arrange pops by color for a rainbow effect.
- Add small balloons or mini bunting above the stand.
- Group them in themes (like red, white, and blue for July 4th!)
- Place the stand at different heights using boxes underneath a tablecloth.
Quick thought: I once used a toolbox under a cloth for my nephew’s construction-themed party. Looked AMAZING!
Bonus: Creative Cake Pop Display Ideas to Make Your Stand Shine
Once you’ve built your cake pop stand, it’s time for the real fun styling it up so it turns heads at your party!
Here are some of my favorite creative ideas (and a few little tips I’ve learned the fun way):
1. Go Vertical with Multiple Tiers
If you’re hosting a big American birthday party or a bridal shower, you’ll want lots of cake pops ready to grab.
Tip from Samad: Stack two foam blocks on top of each other for a quick, easy DIY tiered stand. Just make sure you anchor them together with toothpicks or glue!
You can also grab a cute tiered acrylic display from Amazon for about $20–$30. Totally reusable too!
2. Add Fresh Flowers for a Fancy Look
Tuck little sprigs of baby’s breath, mini roses, or daisies between the cake pops on the stand.
Caution: Make sure any flowers you use are non-toxic and pesticide-free! (I usually grab a safe bouquet from Trader Joe’s or Whole Foods.)
3. Color Coordinate for Holidays
- 4th of July: Red, white, and blue cake pops with mini American flags.
- Christmas: Red velvet pops with green sprinkles.
- Halloween: Orange and black pops with spooky eyes!
It’s such a simple way to make your stand match the season, and Americans love themed treats at parties.
4. Personalized Cake Pop Tags
Use little printable labels tied to each cake pop stick with thin ribbon. You can write:
- “Happy Birthday!”
- “Congrats, Grad!”
- “It’s a Boy/Girl!” for baby showers
It adds a sweet, personal touch without much extra work.
Samad’s Tip: You can find free printable templates on Canva or Etsy, perfect for U.S. holidays and parties.
Bonus: Easy Cake Pop Recipe for Your Stand
I couldn’t just leave you with the stand, right? Here’s my quick, foolproof method for making delicious cake pops that American kids (and adults!) love.
Ingredients:
- 1 box cake mix (any flavor)
- Ingredients listed on the cake mix box (usually eggs, oil, water)
- 1 can frosting (vanilla, chocolate, cream cheese your call!)
- 12 oz candy melts (for coating)
- Sprinkles or toppings
- Cake pop sticks
Instructions:
- Bake the Cake
Bake the cake according to the box directions. Let it cool completely. - Crumble It Up
In a large bowl, crumble the cooled cake into fine crumbs with your hands. No big chunks! - Mix with Frosting
Add about ½ cup frosting to the crumbs. Mix until it holds together when pressed (but not too sticky). - Roll Balls
Roll into 1-inch balls. Place on a baking sheet lined with parchment paper. - Chill
Freeze the balls for 15–20 minutes until firm. - Insert Sticks
Dip the end of each stick into melted candy coating, then insert halfway into a ball. This helps it stay secure. - Dip and Decorate
Dip each pop into the candy coating. Let the excess drip off, then add sprinkles fast before the coating hardens. - Stand Them Up
Stick the finished pops into your cake pop stand to dry and show them off proudly!
Quick Party Tip: Pair your colorful cake pops with a sweet spread inspired by this collection of sweet tooth recipes the more treats, the merrier!
How to Store Your Cake Pops and Stand
At room temperature:
- Good for up to 2–3 days, especially in cooler weather.
In the fridge:
- Keeps fresh for up to a week!
- Just cover lightly with plastic wrap to avoid moisture buildup.
Pro Tip: Never store them in an airtight container it can make the candy coating get all sweaty and weird-looking.
Quick Recap: Why I Love a Good Cake Pop Stand
- It keeps your treats looking gorgeous.
- It’s easy for guests to grab and enjoy.
- It’s perfect for busy American families who want a no-fuss, high-impact party display.
And honestly? There’s just something about walking into a room and seeing a colorful pop stand that makes you smile.
Planning other small desserts for your party table? Don’t miss this easy lemon cupcakes recipe, or whip up some peanut butter cookie bars!
FAQs About Cake Pop Stands

Q: Can I reuse a foam cake pop stand?
A: Absolutely! Just be gentle when removing the sticks and patch up any big holes with tape if needed.
Q: How many cake pops fit on a standard stand?
A: Most foam blocks or medium acrylic stands easily hold 20–30 cake pops.
Q: Can I make a stand the night before?
A: You bet! I recommend making it a day ahead to save time and reduce party-day stress.
Q: What size holes should I drill for a wooden stand?
A: Go for about 3/16-inch holes it fits most standard cake pop sticks nicely.
Final Warm Note from Samad
I really hope today’s guide helps you whip up the ultimate cake pop display for your next celebration. Whether you go full DIY or snag a cute stand from the store, the most important thing is sharing those sweet bites with the people you love.
Because at the end of the day, food isn’t just about flavor it’s about connection, laughter, and memories.
Happy popping,
Samad
DIY Cake Pop Stand Guide
Equipment
- Scissors
- Tape or Glue
- Drill (optional)
Ingredients
Materials
- 1 foam block or wood board
- Decorative wrapping paper
- Tape or glue
- Scissors
- Wooden dowels (optional)
- Cake pop sticks
Instructions
- Choose your base (foam or wood).
- Wrap the base in decorative paper.
- Poke or drill holes about 2 inches apart.
- Test with a few cake pops for balance.
- Decorate the stand if desired.
Notes
Match the stand’s color to your party theme for best results.