Lina: Okay Samad, be honest did you buy that KitchenAid ice cream attachment just to avoid buying ice cream from the store?
Samad: Guilty. But seriously, this KitchenAid ice cream recipe is a total game-changer. It’s so creamy, so classic it tastes like something you’d get at a summer fair in Ontario.
Lina: And it’s made with real ingredients. No weird stuff. Just good ol’ Canadian dairy, vanilla, and a bit of sugar magic.
Table of Contents
Why Make Ice Cream with a KitchenAid?
Samad: If you’ve got a KitchenAid stand mixer, you’re already halfway there. The ice cream bowl attachment does the heavy lifting no clunky machines or hand-churning involved.
Lina: And let’s not forget: homemade vanilla ice cream tastes 10x better when you’ve made it yourself. Plus, you can mix in anything you want maple syrup, chocolate chips, or even Nana’s blueberry jam.
Ingredients for Homemade Vanilla Ice Cream
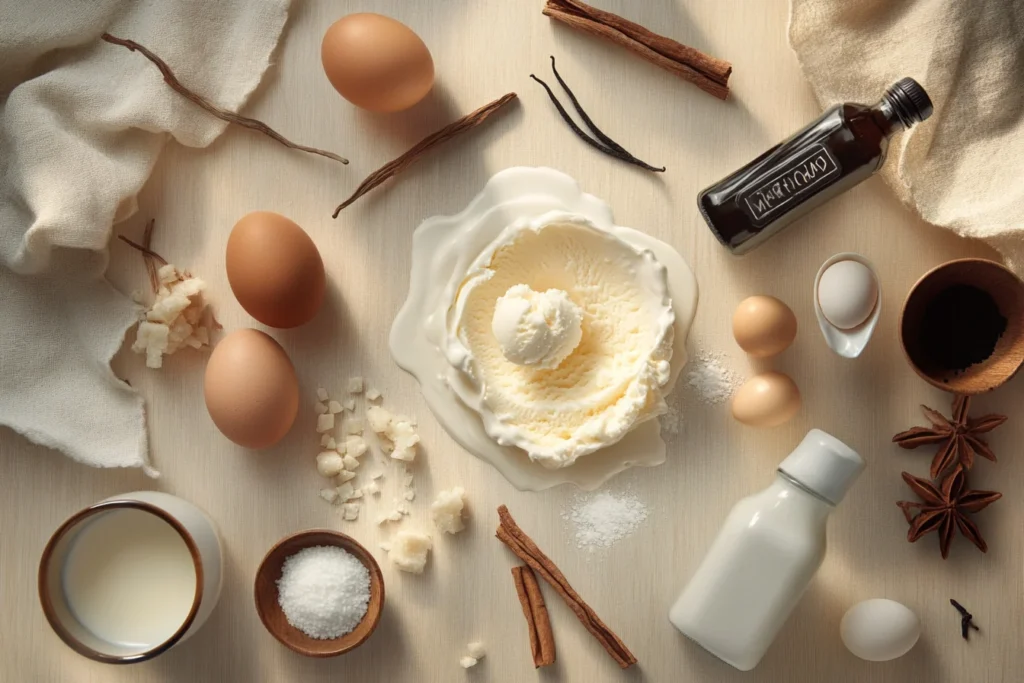
Lina: Here’s what you’ll need to make the creamiest, dreamiest base. This makes about 1.5 litres perfect for sharing (or not sharing).
- 2 cups (500 ml) heavy cream (35% whipping cream)
- 2 cups (500 ml) whole milk
- ¾ cup (150 g) granulated sugar
- 1 tbsp pure vanilla extract (or vanilla bean paste)
- 5 large egg yolks
- Pinch of sea salt
Samad: Pro tip: Use fresh eggs from your local farmers’ market if you can. Makes the texture even silkier.
Prep Before You Churn
Lina: Okay, so before we dive in, make sure your KitchenAid ice cream bowl is frozen solid. Like, at least 15 hours in the freezer.
Samad: I usually pop mine in the night before. Nothing ruins an ice cream day like a slushy fail.
How to Make the Custard Base
Step-by-step
Lina: This part takes about 15 minutes, but it’s where all the magic starts.
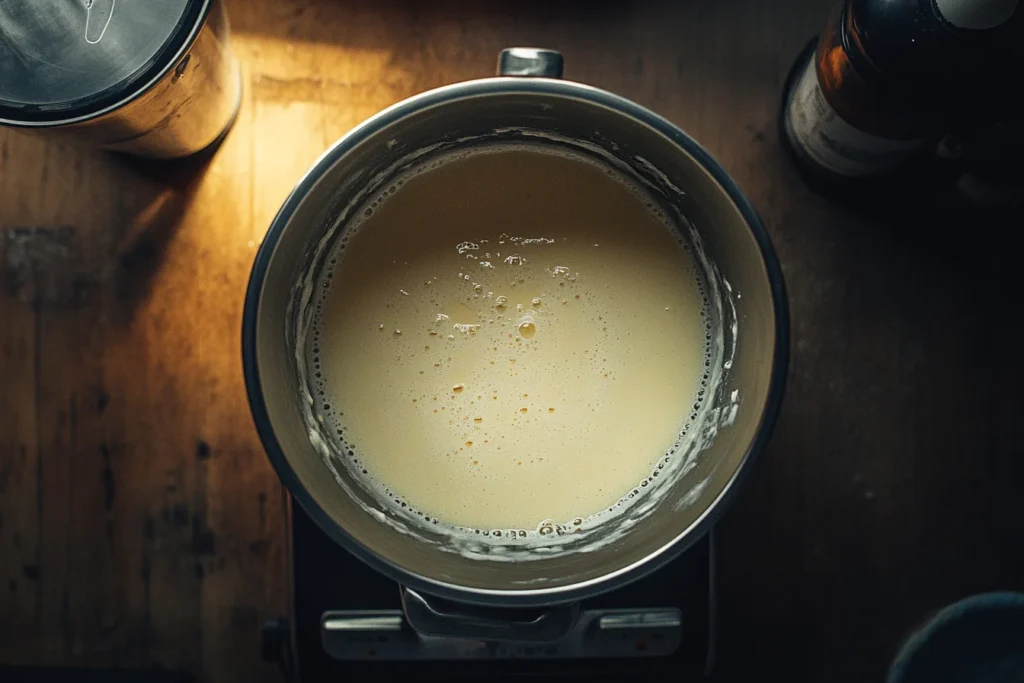
- Heat the milk and cream: In a saucepan, combine milk, cream, and half the sugar. Heat it over medium until it just starts to steam don’t boil!
- Whisk the yolks: In a bowl, whisk egg yolks, the remaining sugar, and the salt until it’s pale and creamy.
- Temper the eggs: Slowly pour about a cup of the hot milk mixture into the yolks while whisking. This keeps them from scrambling!
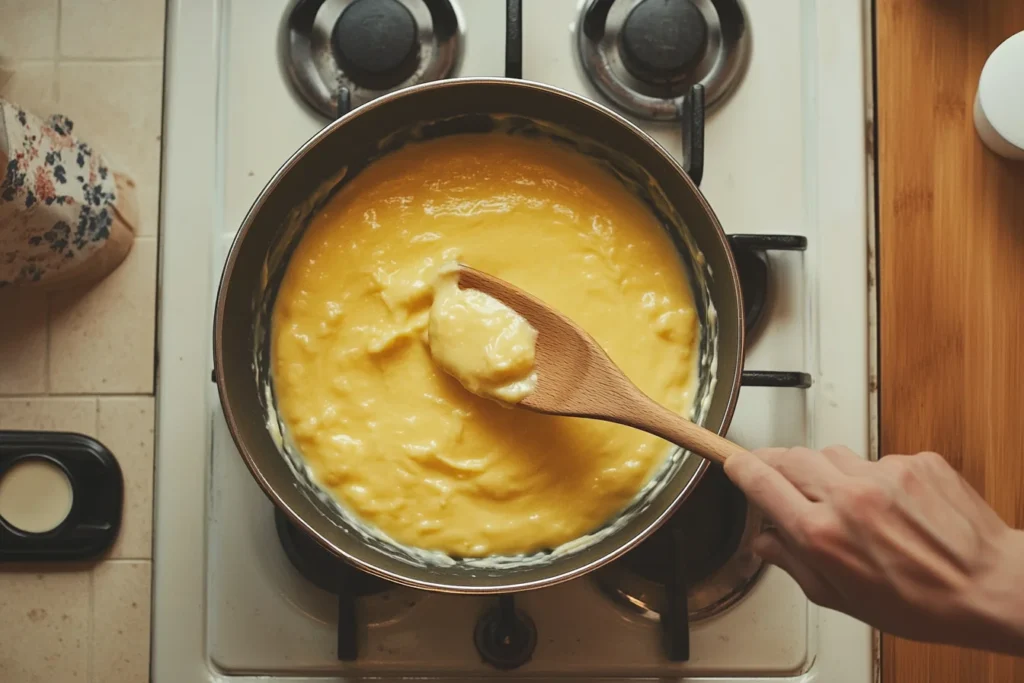
- Back in the pot: Pour the tempered yolks into the saucepan and cook over low heat, stirring constantly with a wooden spoon until the mixture thickens and coats the back of the spoon.
- Strain and chill: Strain through a fine mesh sieve into a clean bowl. Stir in vanilla. Cover and chill in the fridge for at least 4 hours, or overnight.
Samad: If you’re in a rush, chill it over an ice bath. But trust me overnight makes it smoother.
Churning It Up with Your KitchenAid
Lina: Once the custard is cold and your KitchenAid bowl is frozen, it’s go time!
- Set up the ice cream maker attachment.
- Turn the mixer to “stir” speed.
- Slowly pour the custard into the bowl.
- Churn for 20–25 minutes until thick and creamy.
Samad: It’ll look like soft serve when it’s done. You can eat it right away or…
Lina: …pop it into an airtight container and freeze it for 2–4 hours if you want that firmer, scoop-shop texture.
Flavour Twists We Love
Lina: Okay, basic vanilla is amazing, but what if we jazz it up a bit?
- Maple Swirl: Add a ribbon of maple syrup in the last minute of churning
- Berry Burst: Fold in a quick blueberry compote before freezing
- Choco-chip Crunch: Stir in mini chocolate chips and crushed waffle cone
Samad: I once folded in crushed Skor bars. That was dangerously good.
Serving Ideas That Make It Extra Special
Samad: Alright, the ice cream is frozen and ready. What are we serving it with?
Lina: Oh, the possibilities! Here’s how we love to enjoy it:
- Classic Cone: Can’t go wrong with a crunchy waffle cone and sprinkles.
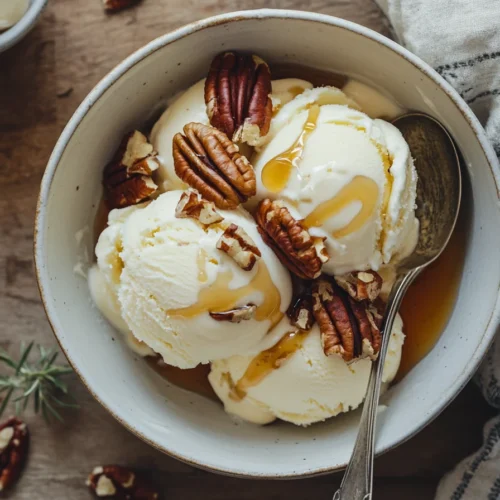
- Canadian Style: Drizzle with warm maple syrup and toasted pecans.
- Berry Bowl: Top with fresh Ontario strawberries and a dollop of whipped cream.
- Affogato-eh? Pour hot espresso over a scoop for a fancy café vibe.
Samad: Don’t forget a warm slice of apple pie on the side. Instant Canadiana!
Storage Tips & Make-Ahead Advice
Lina: Homemade ice cream can last up to 2 weeks in the freezer, but you’ll probably finish it before then.
- Store in a freezer-safe, airtight container.
- Press a piece of wax paper against the surface to prevent ice crystals.
- Let it sit at room temp for 5–10 minutes before scooping if it’s too firm.
Samad: Pro tip label your container with the date. Or don’t, and just call it “mystery magic” when the kids find it.
Troubleshooting Tips
Lina: If your ice cream didn’t turn out just right, don’t stress. Here’s how to fix it next time:
- Too icy? The custard wasn’t chilled enough. Make sure it’s cold-cold before churning.
- Didn’t thicken? Could be undercooked custard or a not-cold-enough bowl.
- Tastes eggy? That means it overcooked. Low heat and constant stirring is key.
Samad: Also, don’t skip the straining step. It keeps things silky smooth.
FAQ-KitchenAid Ice Cream Recipe
Can I make this without the KitchenAid attachment?
Lina: You could use another ice cream maker, but the KitchenAid one makes it super easy and hands-free.
Can I use dairy alternatives?
Samad: Yup! Full-fat coconut milk works best. Just know the texture may be slightly different.
Do I need to temper the eggs?
Lina: Absolutely. That’s what makes the custard rich without scrambling the yolks.
Can I add chunks (cookies, candy, etc.)?
Samad: Totally! Add solid mix-ins during the last 1–2 minutes of churning so they don’t sink.
How long does homemade ice cream last?
Lina: Up to 2 weeks in the freezer but good luck keeping it that long in a Canadian household!
Final Scoop
Lina: We hope this recipe brings a little joy to your table.
Samad: And don’t forget the best meals are the ones shared with family. Even if it’s just a spoon and a container of homemade vanilla ice cream!
- Cinnamon Buns Recipe Canada
“Serve a warm cinnamon bun alongside your homemade ice cream for a cozy, café-style dessert.”
- Classic Fruit Cake Recipe
“Consider mixing dried fruit into your base, just like the sweet bites in our classic fruit cake recipe, for a rich, nostalgic flavor.”
- Homemade Apple Pie Recipe
“There’s nothing more comforting than a scoop of vanilla ice cream melting over a slice of homemade apple pie.”
- Empire Cookies Recipe Canada
“For a playful twist, crumble some Empire cookies over your ice cream or use them to make ice cream sandwiches.”
Creamy KitchenAid Vanilla Ice Cream
Equipment
- KitchenAid Ice Cream Maker Attachment
- Saucepan
- Whisk
- Fine Mesh Sieve
Ingredients
Ice Cream Base
- 2 cups heavy cream 35% whipping cream
- 2 cups whole milk
- 0.75 cup granulated sugar
- 1 tbsp pure vanilla extract
- 5 large egg yolks
- sea salt pinch
Instructions
- Freeze KitchenAid bowl for 15 hours.
- In a saucepan, heat the milk, cream, and half the sugar until steaming.
- Whisk egg yolks with the remaining sugar and pinch of salt.
- Temper the yolks with a bit of the hot milk mixture.
- Return the mixture to the saucepan and cook over low heat until thickened.
- Strain the mixture and stir in vanilla. Chill for 4+ hours or overnight.
- Churn in the KitchenAid ice cream maker for 20–25 minutes.
- Serve immediately for soft serve or freeze for firmer texture.