Because turning 50 deserves the best cake ever
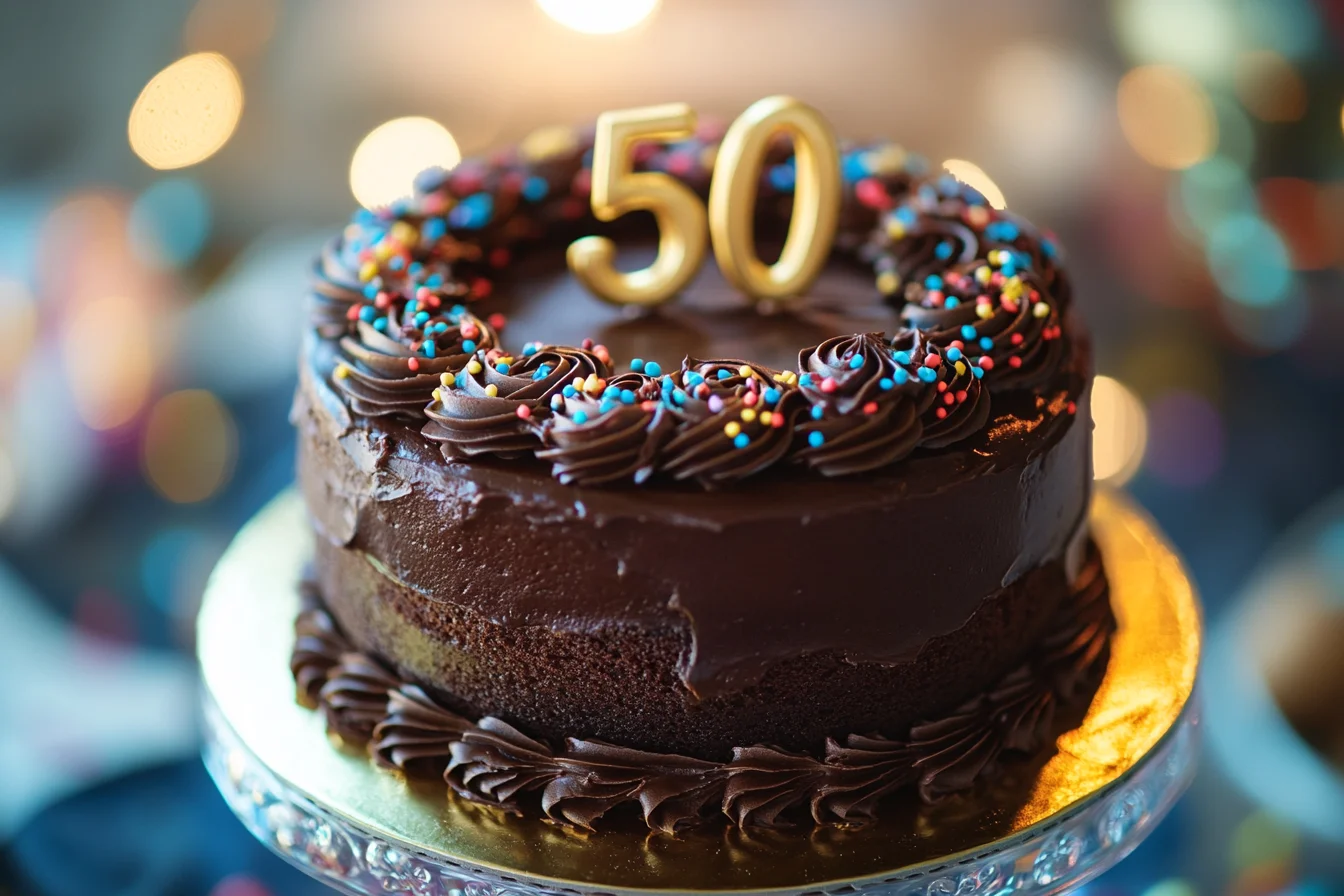
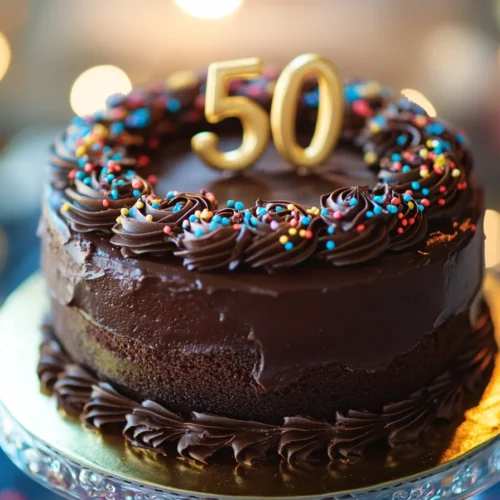
Turning 50 is a big deal and in my kitchen, that calls for a cake that’s just as unforgettable as the milestone itself. This 50th birthday cake recipe is rich, classic, and customizable perfect for celebrating with family and friends across the USA.
Table of Contents
Why This Cake Is Perfect for a 50th Birthday
Honestly, I’ve made a lot of birthday cakes, but when someone hits the big 5-0, I always reach for this one. It’s rich enough to impress, simple enough to make at home, and customizable enough to suit just about anyone’s taste. Whether you’re baking for Dad, Mom, your best friend, or yourself (because hey, you deserve it), this cake is a total showstopper.
I usually go for a moist chocolate base with silky vanilla buttercream, but you can flip that combo or add fruit fillings, liqueur infusions, or even gold leaf if you’re feeling fancy. It’s a birthday, not a board meeting!
Ingredients (Simple, but Show-Stopping)
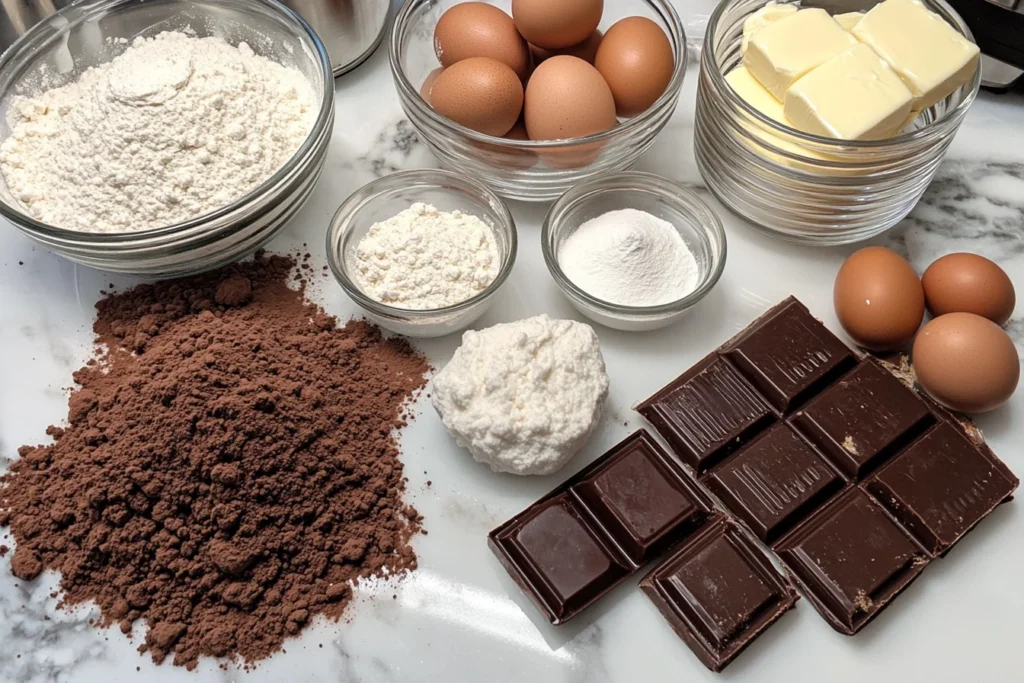
Here’s everything you’ll need for the base chocolate cake with vanilla buttercream. You can adjust the flavors based on the birthday VIP’s favorites.
For the Cake:
- 2 cups all-purpose flour
- 2 cups granulated sugar
- 3/4 cup unsweetened cocoa powder
- 2 tsp baking powder
- 1 1/2 tsp baking soda
- 1 tsp salt
- 1 cup whole milk
- 1/2 cup vegetable oil
- 2 large eggs
- 2 tsp pure vanilla extract
- 1 cup boiling water
For the Vanilla Buttercream:
- 1 1/2 cups unsalted butter (softened)
- 5 cups powdered sugar
- 2 tbsp heavy cream (or milk)
- 1 tbsp pure vanilla extract
- Pinch of salt
How to Make the Ultimate 50th Birthday Cake
Step 1 – Prep Your Pans Like a Pro
Preheat your oven to 350°F. Grease and flour two 9-inch round cake pans. I like to also add a round of parchment paper to the bottom of each it keeps things extra tidy during unmolding.
Step 2 – Make That Moist Chocolate Batter
In a big bowl, whisk together the flour, sugar, cocoa, baking powder, baking soda, and salt.
In another bowl, mix milk, oil, eggs, and vanilla. Slowly combine the wet into the dry. Then pour in the boiling water (yes, it will be runny that’s the magic).
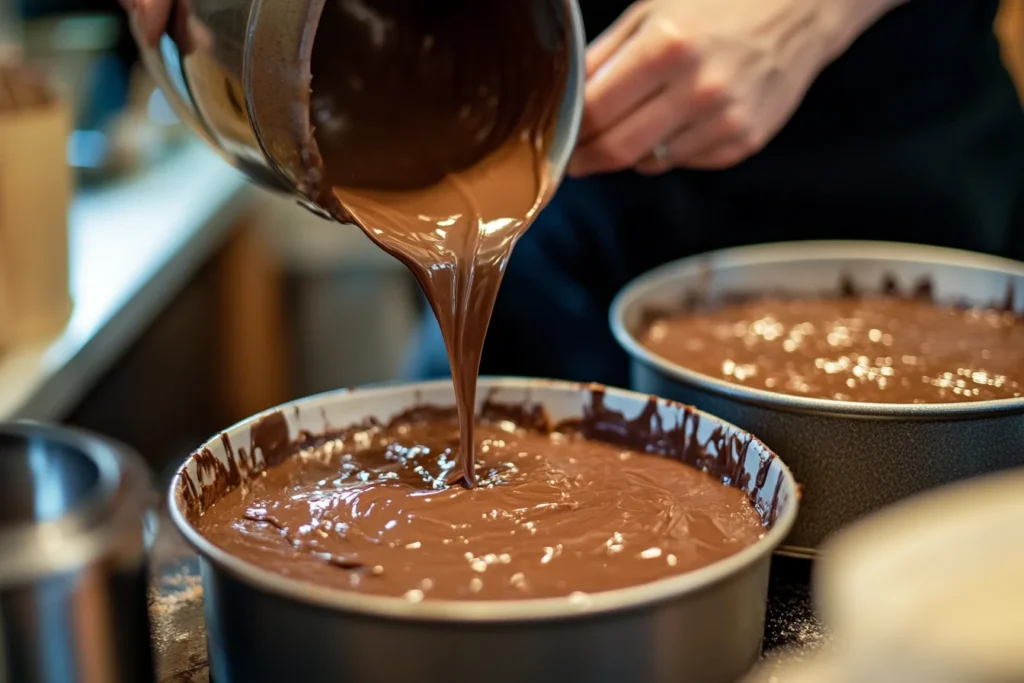
Step 3 – Bake and Cool
Divide the batter evenly between your pans. Bake for about 30–35 minutes or until a toothpick comes out clean. Let the cakes cool in the pans for 10 minutes, then flip onto racks and cool completely.
Step 4 – Whip Up the Buttercream
Using a hand or stand mixer, beat the softened butter until creamy. Gradually add powdered sugar, cream, vanilla, and salt. Whip for 3–5 minutes until light and fluffy.
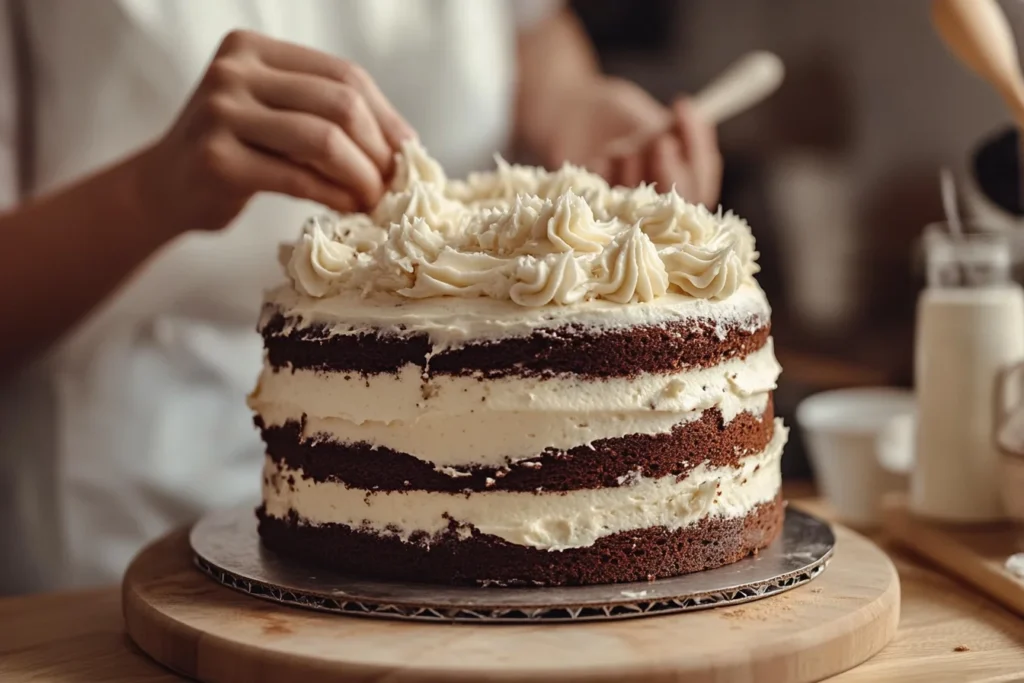
Step 5 – Assemble and Decorate
Level your cakes with a serrated knife if needed. Stack them with a generous layer of buttercream in between, then frost the outside. I like to do a rustic swirl finish with a small offset spatula. Add edible gold flakes, sprinkles, or a big “50” cake topper for extra flair.
Common Problems + Easy Fixes
Problem: My cake sank in the middle.
Solution: This usually means the oven door was opened too early or the batter was overmixed. Be patient and gentle!
Problem: My buttercream is gritty.
Solution: Let the butter and sugar whip together longer and make sure your powdered sugar is sifted. A bit of heavy cream can smooth things out beautifully.
Problem: My layers are uneven.
Solution: Use a cake leveler or serrated knife to trim them before stacking. Also, always check your oven rack is level yes, really!
Tips for Making It Extra Special
- Flavor Swaps: Try coffee instead of water in the batter, or almond extract in the buttercream.
- Filling Ideas: Raspberry jam, whipped ganache, or even a layer of cheesecake!
- Make Ahead: You can bake the cakes up to 2 days in advance and freeze them wrapped tightly in plastic.
Perfect for busy American families who want to prep ahead of a big birthday bash.
Customizations to Make It Their Cake
Everyone’s got their own flavor vibe, especially when they hit 50. Here’s how to tailor this cake so it feels personal, nostalgic, or just downright fun.
Flavor Twists
- Lemon Lover? Swap cocoa for flour in equal parts, add lemon zest, and a splash of lemon juice to the batter and frosting.
- Mocha Magic: Add 1 tsp instant espresso powder to the batter and buttercream. Trust me coffee lovers go wild for it.
- Boozy Vibes: Brush the layers with Kahlúa or Irish cream before frosting for an adults-only version that’s still family-dinner appropriate.
Frosting Fun
- Chocolate Buttercream Swap: Just add 3/4 cup cocoa powder to the vanilla frosting and bump up the cream slightly.
- Cream Cheese Option: Swap half the butter for cream cheese. It’s tangy, luscious, and perfect with fruit fillings.
- Ombre Design: Tint frosting in graduating shades of your birthday honoree’s favorite color so pretty and Pinterest-worthy!
How to Make It Party-Ready
This cake isn’t just dessert it’s the centerpiece. Here’s how I make sure it stands out at every American birthday gathering:
Get That “Wow” Factor
- Top It Off: A big gold “50” topper, fresh berries, or chocolate shavings go a long way.
- Sparkler Candles: Light them at the table and watch everyone’s face light up.
- Themed Decorations: Match the cake to the party theme (gold, retro, floral, sports you name it).
Make It a Crowd-Pleaser
- Serve with Ice Cream: Always a hit with kids and grown-ups. Vanilla or coffee flavor pairs beautifully.
- Add a Dessert Table: Include cupcakes with matching frosting, cake pops, or chocolate-dipped strawberries.
Storage + Make Ahead Tips
If you’re anything like me, you’re juggling decorations, food, and a whole lot of birthday energy. Here’s how to make this cake ahead and avoid any last-minute scramble.
Store the Cake
- Before Decorating: Wrap cake layers tightly in plastic wrap and refrigerate up to 2 days or freeze for up to 1 month.
- After Frosting: Keep covered in the fridge. Let it sit out for 1–2 hours before serving so the buttercream softens up.
Buttercream Storage
- Store it in an airtight container in the fridge for up to a week. Let it come to room temp and whip it again before using.
Gifting the Cake? Here’s How to Do It Right
I’ve gifted this cake to neighbors, friends, and even shipped it (carefully!) across town. Here’s what works:
- Use a Cake Box: You can find them at craft stores or online. Add a bit of bubble wrap inside the lid to prevent shifting.
- Chill Before Gifting: A cold cake is more stable for transport especially in warm weather.
- Add a Personal Note: A sweet handwritten card with “Happy 50th!” makes it even more special.
Use a sturdy cake box, chill before transport, and maybe even add a handwritten card for warmth. Makes it even more memorable.
Bonus Section: Tools That Make Life Easier
You don’t need a fancy bakery setup, but a few of these gadgets can take your birthday cake game up a notch:
- Offset Spatula: For smooth, pro-level frosting.
- Cake Turntable: Makes decorating so much easier and fun.
- Bench Scraper: For perfectly sharp frosting edges.
- Piping Tips + Bags: To write “Happy 50th” or add borders and flowers.
🇺🇸 A Little Love for American Families
One thing I love about this recipe? It fits right into busy American lives. Whether you’re baking on a weeknight or prepping days ahead for a big bash, it’s easy, reliable, and always makes people smile.
And hey if you’re a parent throwing a party, this is the cake that’ll get everyone talking (and asking for seconds). It’s got that nostalgic birthday feel, but with grown-up flair.
Looking for something unique? Try a quince cake for an elevated twist.
FAQs
Q: Can I use a boxed cake mix instead?
A: Sure can! Just add a teaspoon of vanilla and swap water for milk to boost the flavor.
Q: Can I make this as a sheet cake?
A: Absolutely. Pour the batter into a greased 9×13 pan and bake for 35–40 minutes.
Q: How do I store the leftover cake?
A: Keep it covered at room temp for 2 days or refrigerate for up to a week. Let it come to room temp before serving.
Q: Can I make this gluten-free?
A: Yep! Just sub in a 1:1 gluten-free flour blend. It works great in this recipe.
Q: What’s the best way to transport it?
A: Chill it first, then use a cake carrier or box with a non-slip mat underneath. Drive safe!
Final Thoughts from Samad
Baking for a milestone like 50 isn’t just about dessert it’s about memories, tradition, and a whole lot of love. I hope this cake helps you celebrate someone special in your life in the most delicious way.
Take your time with it, add your personal touches, and remember: cakes aren’t just baked, they’re shared. That’s what makes them unforgettable.
From my kitchen to yours happy baking, and happy 50th!
50th Birthday Cake
Ingredients
Cake Batter
- 2 cups all-purpose flour
- 2 cups granulated sugar
- 3/4 cup unsweetened cocoa powder
- 2 tsp baking powder
- 1 1/2 tsp baking soda
- 1 tsp salt
- 1 cup whole milk
- 1/2 cup vegetable oil
- 2 large eggs
- 2 tsp pure vanilla extract
- 1 cup boiling water
Buttercream Frosting
- 1 1/2 cups unsalted butter softened
- 5 cups powdered sugar
- 2 tbsp heavy cream
- 1 tbsp vanilla extract
- salt pinch
Instructions
- Preheat oven to 350°F. Grease and line two 9-inch round pans.
- In a large bowl, mix flour, sugar, cocoa, baking powder, baking soda, and salt.
- In a separate bowl, whisk milk, oil, eggs, and vanilla. Combine with dry ingredients.
- Add boiling water and stir gently until smooth.
- Pour into pans and bake for 30–35 minutes. Cool completely.
- Beat butter until creamy. Gradually add powdered sugar, cream, vanilla, and salt. Whip until fluffy.
- Stack and frost cake. Decorate as desired.